VPC
Function inside a VPC may not have access to the public internet and may cause a connectivity issue to Lumigo.

Lumigo now allows you to trace lambdas that are inside a VPC (once implemented the error sign will disappear automatically). In order to implement it you'll have to:
- Edit your VPC's security group.
- Add an environment variable to the lambdas inside the VPC. This is done differently in every tracing method.
Full Outbound AccessNote that if your VPC has full outbound access (0.0.0.0/0) you don't need to make any change (Lumigo will work regularly).
Edit the VPC security group
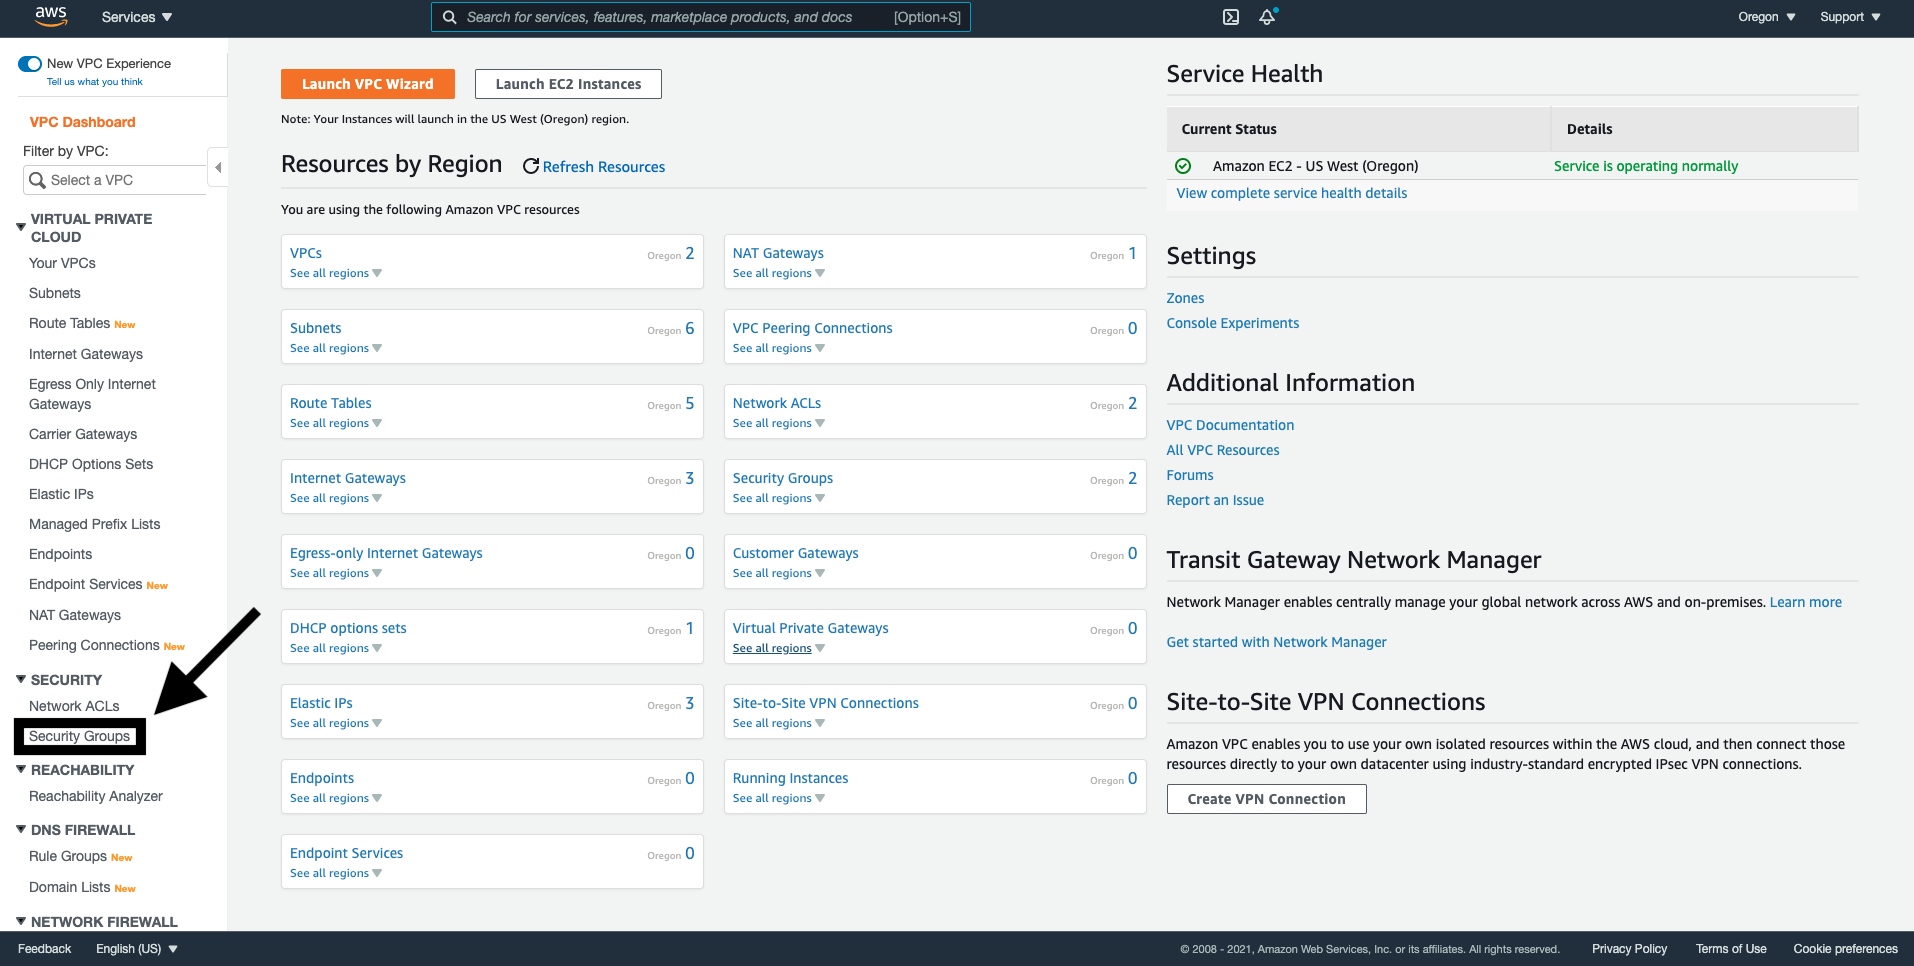
- Open the Amazon VPC console.
- In the left navigation pane, choose Security Groups.
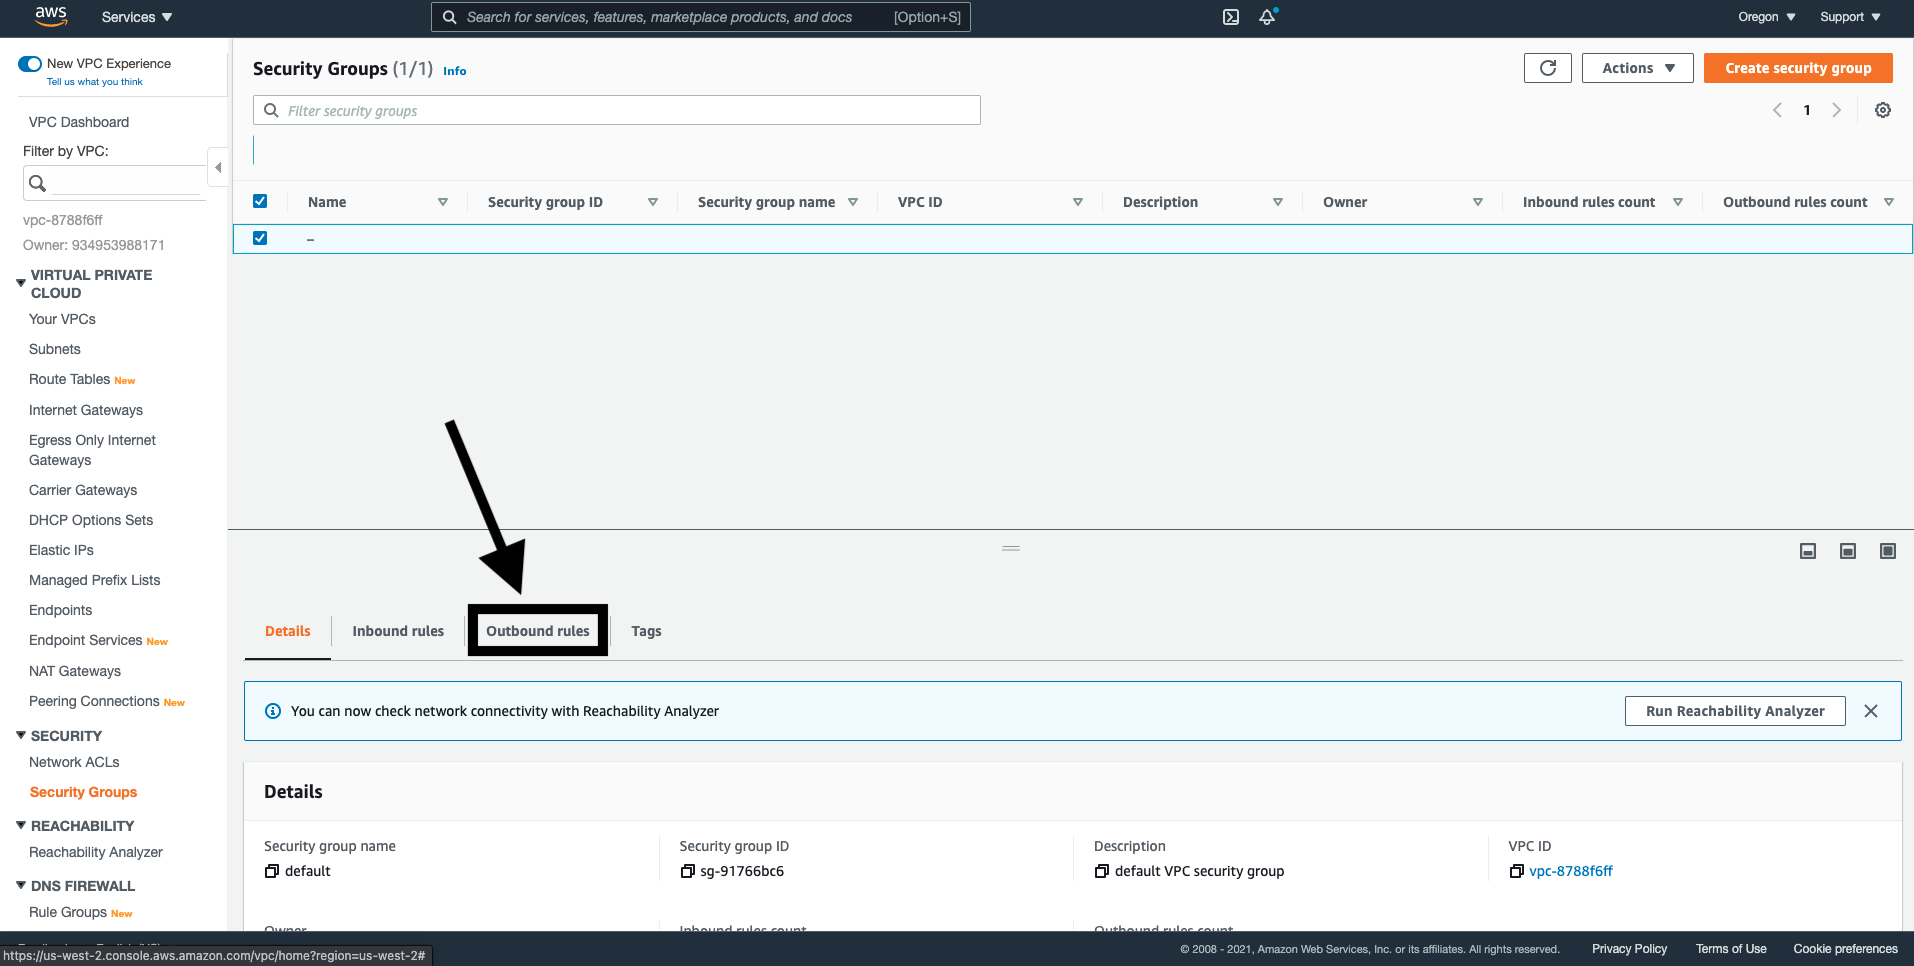
- Check the box next to the security group you wish to associate with your lambdas.
- Click on "Outbound rules"
- Select the relevant rule if you have more than one Outbound rule.
- Click on "Edit Outbound rules".
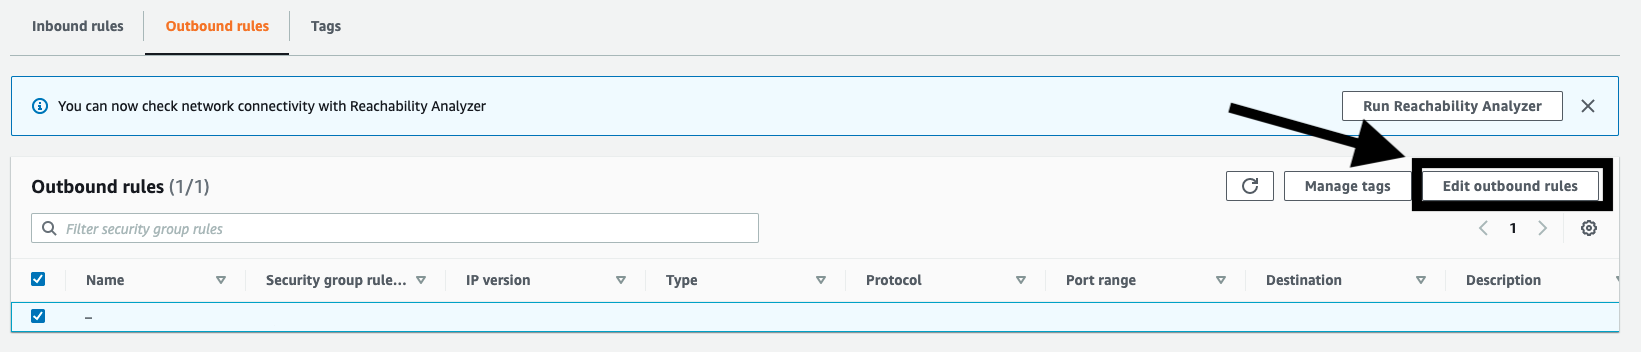
- Change the destination IP address to 15.197.164.44/32

Add The Environment Variable
There are several ways to add the variable to the environment depending on your chosen tracing method (Auto Tracing / Serverless Framework / Manual Tracing).
Auto Tracing
Nothing 😃. Lumigo will automatically add the environment variable to each lambda that was auto traced.
Serverless Framework
Add the environment variable to your serverless.yml
custom:
  LUMIGO_TRACER_HOST: ga.lumigo-tracer-edge.golumigo.com
functions:
myFunction:
LUMIGO_TRACER_HOST: ga.lumigo-tracer-edge.golumigo.comManual Tracing
For each lambda that is behind a VPC and you wish to trace you need to:
- Open the Amazon Lambda console.
- In the left navigation pane, choose Functions.
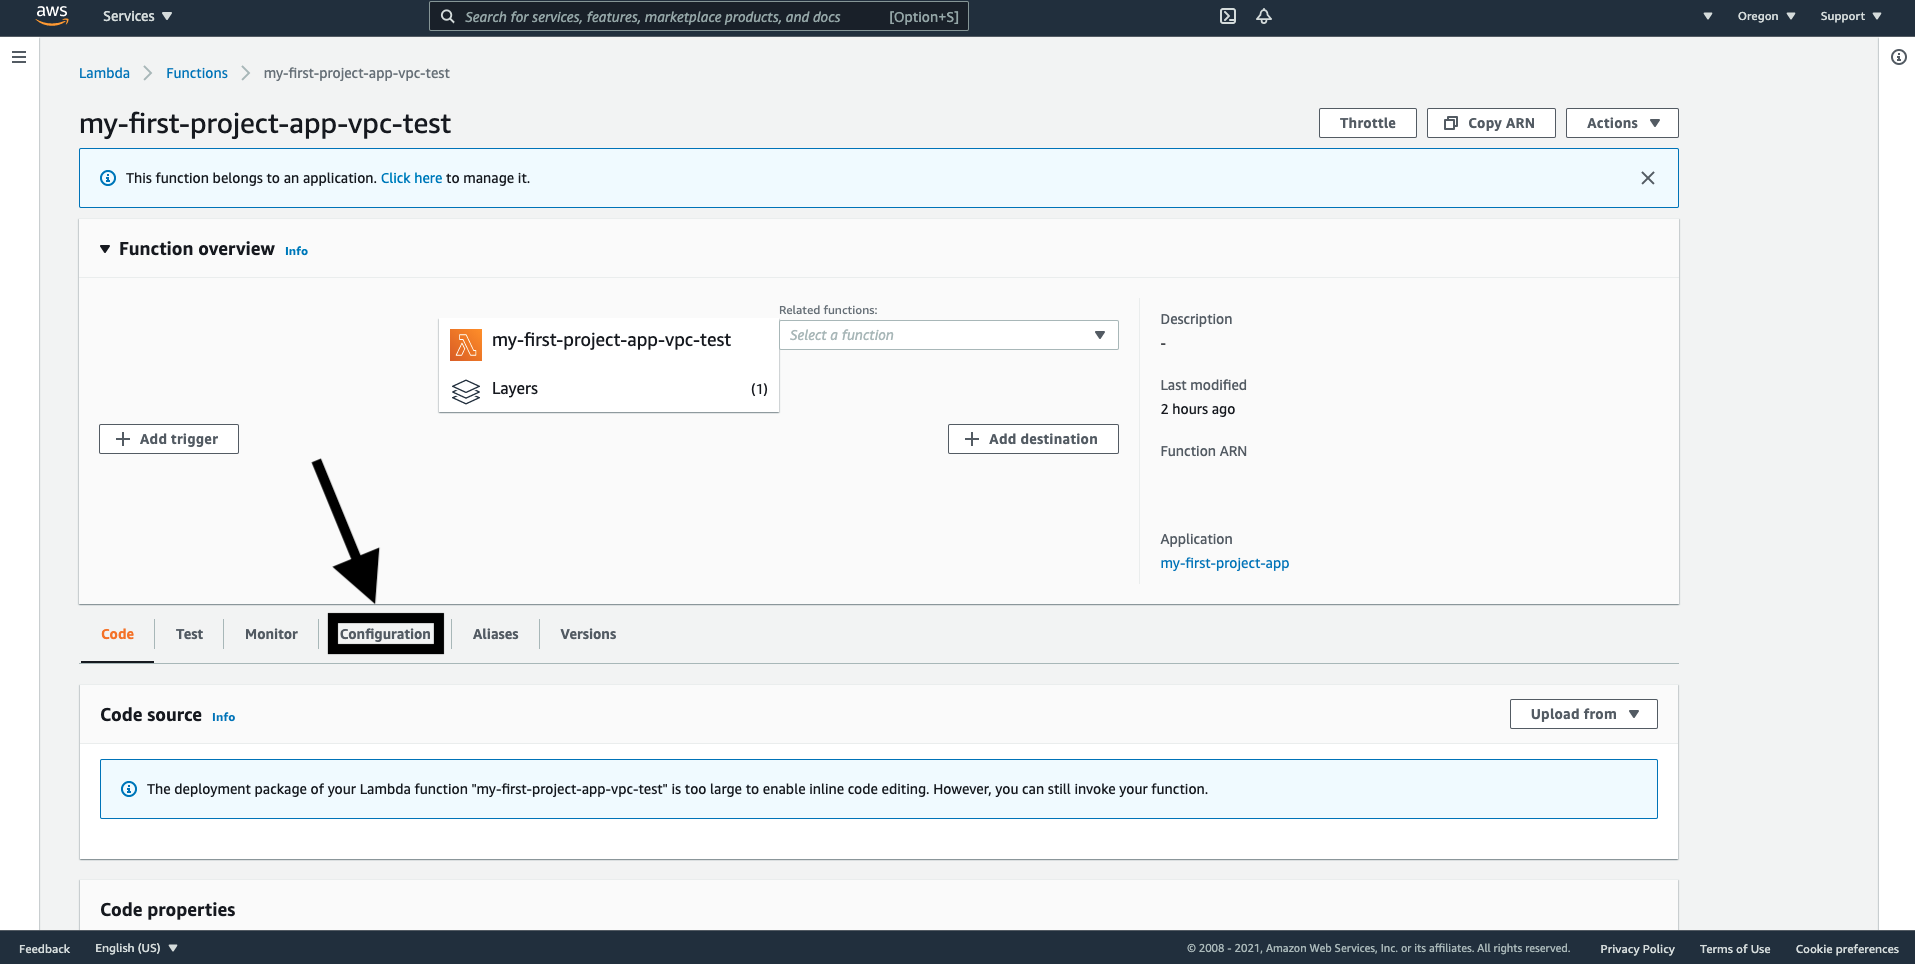
- Choose the lambda you'd like to start tracing.
- Click on "Configuration".
- Click on "Edit"

- Click "Add environment variable"

- Add a new environment variable:
- Key: LUMIGO_TRACER_HOST
- Value: ga.lumigo-tracer-edge.golumigo.com
- Click "Save".
Updated 11 months ago